Progress is happening, but slowly. I can measure it by beard as I haven't groomed my face since I got the main substrate together... I think.
Here are the substrates for the main vertical pieces. Since they are shaped I'm using lumber-core. Glue up a bunch of slats orient the grain so that pieces opposite of their neighbors, and put a cross-band of veneer over them AFTER shaping and they you go. Easier said than done of course.

This would be the form for the back panel(s) before shaping.

Drawer partition substrate to get a thickness I fell was right I had to modify the 1/8" 3-ply that we had with 2 more plys. Though after Ian's mentioning I'm now considering doing web frames instead. Hmmm.

This is basically what I have so far. The main surfaces have been veneered, received bake-ins, and applied edges on the front and back. The vertical members have been shaped, veneered, and currently have applied edges as well. The panel underneath was made with 3 layers of 1/8 plywood. Then there is the Euro Cherry leg stock taken down to pre hand work thickness and width.


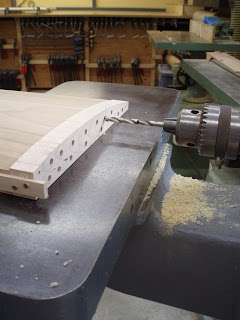
 After the holes were made, or wasted rather, I transferred the jigs for an MDF template that would then act as a jig for the horizontal pieces. The paper that is taped onto the MDF was a full sized drawing I used to figure out some of the curves and angles I wanted for the side pieces... why mess with more measurements when I already have it traced out?


