Tuesday, August 30, 2011

So Much Surface

Back again! Well, I have been working, it's just been repetitive and not photogenic heh.
After machining down the components of the box to relative final thickness I was turning between planing the surfaces, and clamping up edge joints.

After each edge joint is dried, it's back to planing, then back to joining again, and so on.
It may not be the most exciting process ever but it is enjoyable when the work goes well and the bits turn into something more.

Mustn't forget about hitting the sharpening station about every five min. My poor iron has just about had it. I finally ordered a new one yesterday... Can't wait for lapping ha.

So the surfaces had all been glued up! I trimmed and squared the surfaces and took some time to clean up some edges. Here is my block plane taking a shaving from the end grain of a top piece.

Ha, knew this post would be short relative to the work I've put in, and it may happen again...
Till next time!

Thursday, August 18, 2011

Photos : Walnut Desk

Walnut Desk
30"H x 47.5"W x 22"D
Air Dried Walnut, White Oak

Moved photography efforts to the garage. The basement is a bit cluttered at the moment. The garage does seem to be a decent fit though I still like more room. Mainly to get further away from the piece.
Here trying to photograph those pulls... tricky!


Wednesday, August 17, 2011

Nightstand Milling

Here again a a pic of the Nightstand mock-up for reference :).
It's nice getting into new work though ideas and drawings of this piece have been around my head since March.
The box portion will be of Euro Beech and the little stand will be Kwila.

A quick change of band saw blade for the new project and I'm off doing the major milling for these little guys. Here re-sawing Beech for the box portion. Beech is a bit soft compared to Oak but it's creamy dense structure makes it more labor intensive for the saw to cut through.

After getting covered in Beech dust, this is what I came out with. All of this material is for the box surfaces. I'm always surprised at how much material I need. I got 2 10' long planks and there is hardly anything left of them!
As I mentioned a while ago I wasn't the greatly pleased by the selections I got from A&M this time. One plank was much wider than the other and the center was lop-sided with a number of defects. The other more narrow plank was cleaner yet had some wonky grain going on.
I am doing the best I can to put together a clean product and think I will end up with a decent conclusion, it's just a bit more challenging. That of course can be interesting and fun in a way.
For the kind of grain graphic thing I'm going for one could be ripping smaller sections of the material and reassembling them to coax a nice smooth "one big plank". I've done this in some veneer work. However in this solid wood form I'm feeling the urge for simplicity and honesty, not that my other works aren't honest which is something I strive for... hmmm difficult to put into words.
Anywho, My intention is still that of "one big plank", which is much more than just throwing boards together, however with this selection there is just no way to get the smoothest transitions. Rather than fight it, I feel it more "graceful" to except it and "embrace" it for what it is... kind of getting to my Nakashima influences heh.

Back to mill work!
This is the Kwlia for the stands.
I happen to have one left-over narrow plank from my last order from Cormark Int. for the Maple Showcase.
The grain is straight and the color a beautiful rust brown with a bit of red which I feel will be lovely against the cream and pink tones of the Euro Beech.
I must say that I'm quite happy I was introduced to Cormark Int. (http://www.cormarkint.com/) by my benchmate and  friend at IP, Jason D. The guys and gals there care about what they send out have been great for me to work with. My only complaint is that they are far away from me in NC. Cheers.

Monday, August 15, 2011

Done. With the desk.

The last couple things for this project went relatively quickly.
Carve pulls.
Make drawer bottoms.

Oil drawer fronts.
Make drawer stops.

Done. Hopefully I will get photos taken and up in the coming weeks!

For now I cleaned up my bench room a bit to make room for the next project. As some will know, a pair of nightstands/side tables made of Euro Beech and Kwila. Just set these planks of Euro Beech up to ponder my component selections. I have yet to make any cuts as I need to go to work to make pretty coffee drinks at the bakery soon. Perhaps I will start tomorrow unless I can get my hands on a backdrop stand for desk photography.

Chao! - NN

Friday, August 5, 2011

So Close!

So close! The suspension is killing me! Or maybe I'm still over caffeinated from being a closing barista with discerning customers...
Anyway, sorry to fast forward the progress but I was on a role. The drawers have all been dovetailed, assembled, and fit!

The other day I also FINALLY got drawer bottom material. I would much rather have had it earlier in the process but funds were dry due to a couple unforeseen occurrences. Well I actually found a decent plank from the commercial lumber supplier without too much for waste, except for a nice crack going through the middle of half the plank much like I've seen before in 8/4 Oak from this supplier. Does one call that a "shake"?
I decided to rip the sections down the crack which was in the flat of the grain. I'd rather not cut through the flat because it is tougher to get a nice looking edge joint gluing them back together and particularly for something like Oak where the quarter-sawn edge will not want to work very well. What can one do but think, reason, adapt, be careful, and keep moving? heh

Giving the Oak a little time I turned to some pull mock ups. I first compared a post and bail to a carved pull. I feel the carved pull will look more organic and would be less obtrusive to my sight when sitting at the desk. I liked the idea of doing some post and bail and trying to through joinery but I also like carved pulls. In the end the piece should get what it wants!
I haven't quite nailed down the shape of the pull. I don't think I'll be going with the "smiley" towards the right. I also think I could use a new carving gouge or two. I'd rather not by more tools but like I say, the right tool for the right job.

Just got to milling/resawing the drawer bottom stock. I will give it the weekend to sort itself out a bit, then back to work. Hopefully I will have this project wrapped up in the coming week or so (oil still takes time)!

Don't know when I'll get to photograph it. Probably going to need a wider back drop for this one :/. Looking forward to completing the project and moving on though!

Monday, August 1, 2011

Half Blind Dovetails

Alright. Half blind dovetails, lets do this.
First I start by marking where the joints are going to go and there dimensions. I scribed a line where I want the reveal, or the portion covering the dovetails to the front. Also marked with a marking gauge how deep the joint should go which is referenced by how thick your drawer sides are.
Mark out the patter of dovetails and get sawing... carefully! Accurate sawing really makes the work go more smoothly and therefore more quickly. Saw at an angle meeting your scribe line both on the side and back of the drawer front.

Then go to the chop block. Here it is not in position yet. You can see the scribe line marking the depth of the joint. I use this line to line up the work piece in the chop block.

Here's a "trick". Use a nice wide blade of sorts and let the leading edge fit into the scribe line. Apply a little pressure to keep it steady and pull the chop block against your blade. Tada! Very accurate placement with no fuss!

Well now, get to chopping... but wait! Here's another handy maneuver I picked up at IP. I use a little brass shim against the chop block to start my "rough chopping". Just make the initial cuts with this shim then put it aside and keep chopping putting the cutting edge of the chisel where it just was and bracing the chisel back against the block.
The purpose of this is to leave a little to shave off at after the joint has been mainly chopped out giving you a nice clean cut/joint.

Chopping progress.
Now, the inside corner of these joints is where your saw couldn't reach so it will look a bit rough/stringy as you chop out the waste. It will be cleaned up later.

More shims! Get close to your reveal scribe line, I used a wooden shim scribe said line. This is that same wood shim with the brass shim from earlier on top. Same idea, use the brass shim to guide your cut then the bare wood shim for your final cut.

Final cuts with wood shim.

Final end grain cuts using the chop block.
Look over your work. Make sure there isn't anything left to do while in the chop block.

Take the work piece out of the block. It's still going to need some work.
Here are a couple tools I've learned how to make and use. At the top is a small pairing chisel. I mainly use this for dovetail work. It has short, wide-ish blade to be able to comfortable choke up on it and get a lot of control. The blade is also pretty thin in thickness and has a pretty long taper to be able to get between tight dovetails when fitting.
The middle I can only think to call a "detail chisel". I don't use it terribly often but when I need it, nothing else will quite do as well.
At the bottom is a violin knife. Quite handy to clean out corners.

Use the pairing chisel to clean up the rough parts where the saw couldn't cut.

Then the violin knife to cut the shaving out and clean the corners. (This isn't how I use the tool, need two hands, one to hold the work piece and one the knife. Just showing how the tool fits in to cut.)

Check for cleanliness and squareness and address accordingly. Remember, your pins here is what's going to define your tails therefore how the joint looks. Well made pins will make fitting your tails much easier!

The tails side is chopped out much the same except through of course. Fast forwarding that whole procedure here is an almost finished set.
Fyi... Oak is not the easiest wood for dovetails! I feel for the students at IP who picked Oak for their first box project! heh.
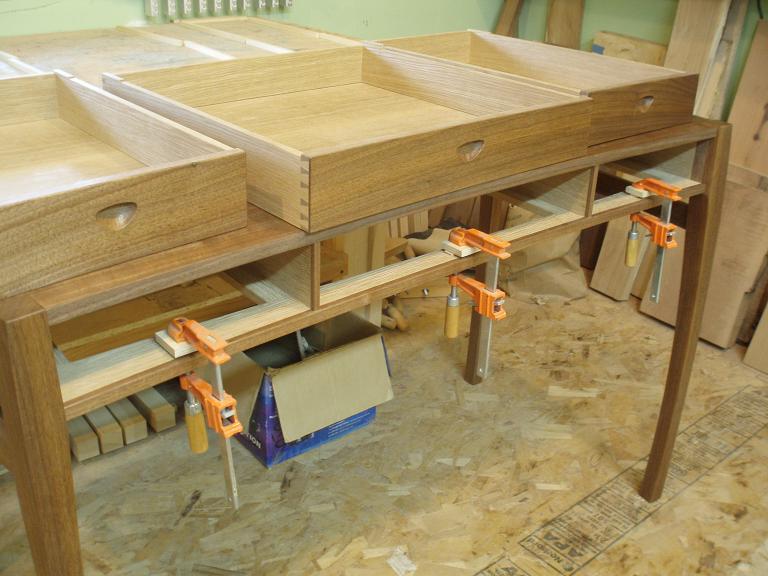
Well I am physically and mentally drained from dovetail week as always. Looking forward to wrapping this project up!!! I still don't know what I'm going to do for pulls yet hmmmmm....